6 Easy Steps to Your Own Pallet Garden
Vertical gardening has become more and more popular every year. One of my favorite types of vertical gardens are made from recycled pallets! I have created pallet gardens for both edibles and ornamentals, and have also offered workshops to make your own for many years. With the urban and suburban sprawl in the DC Metropolitan area, where I live, many people don’t have the space for a traditional garden – or maybe you just want to do something DIFFERENT…so instead of growing out, lets grow UP!
Supplies needed:
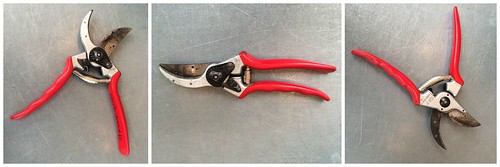
- Empty, clean pallet with all boards intact (Check out http://www.1001pallets.com/pallet-safety/ for info on pallet safety with edibles)
- Landscaping fabric
- Staple gun
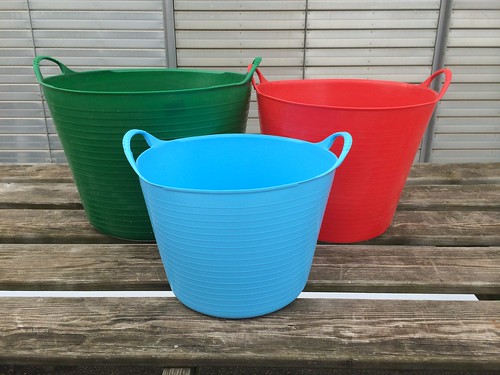
- ProMix potting medium
- Organic fertilizer blend – Plant Tone, Green Sand, Rock Phosphate, Garden Gypsum
- PLANTS!
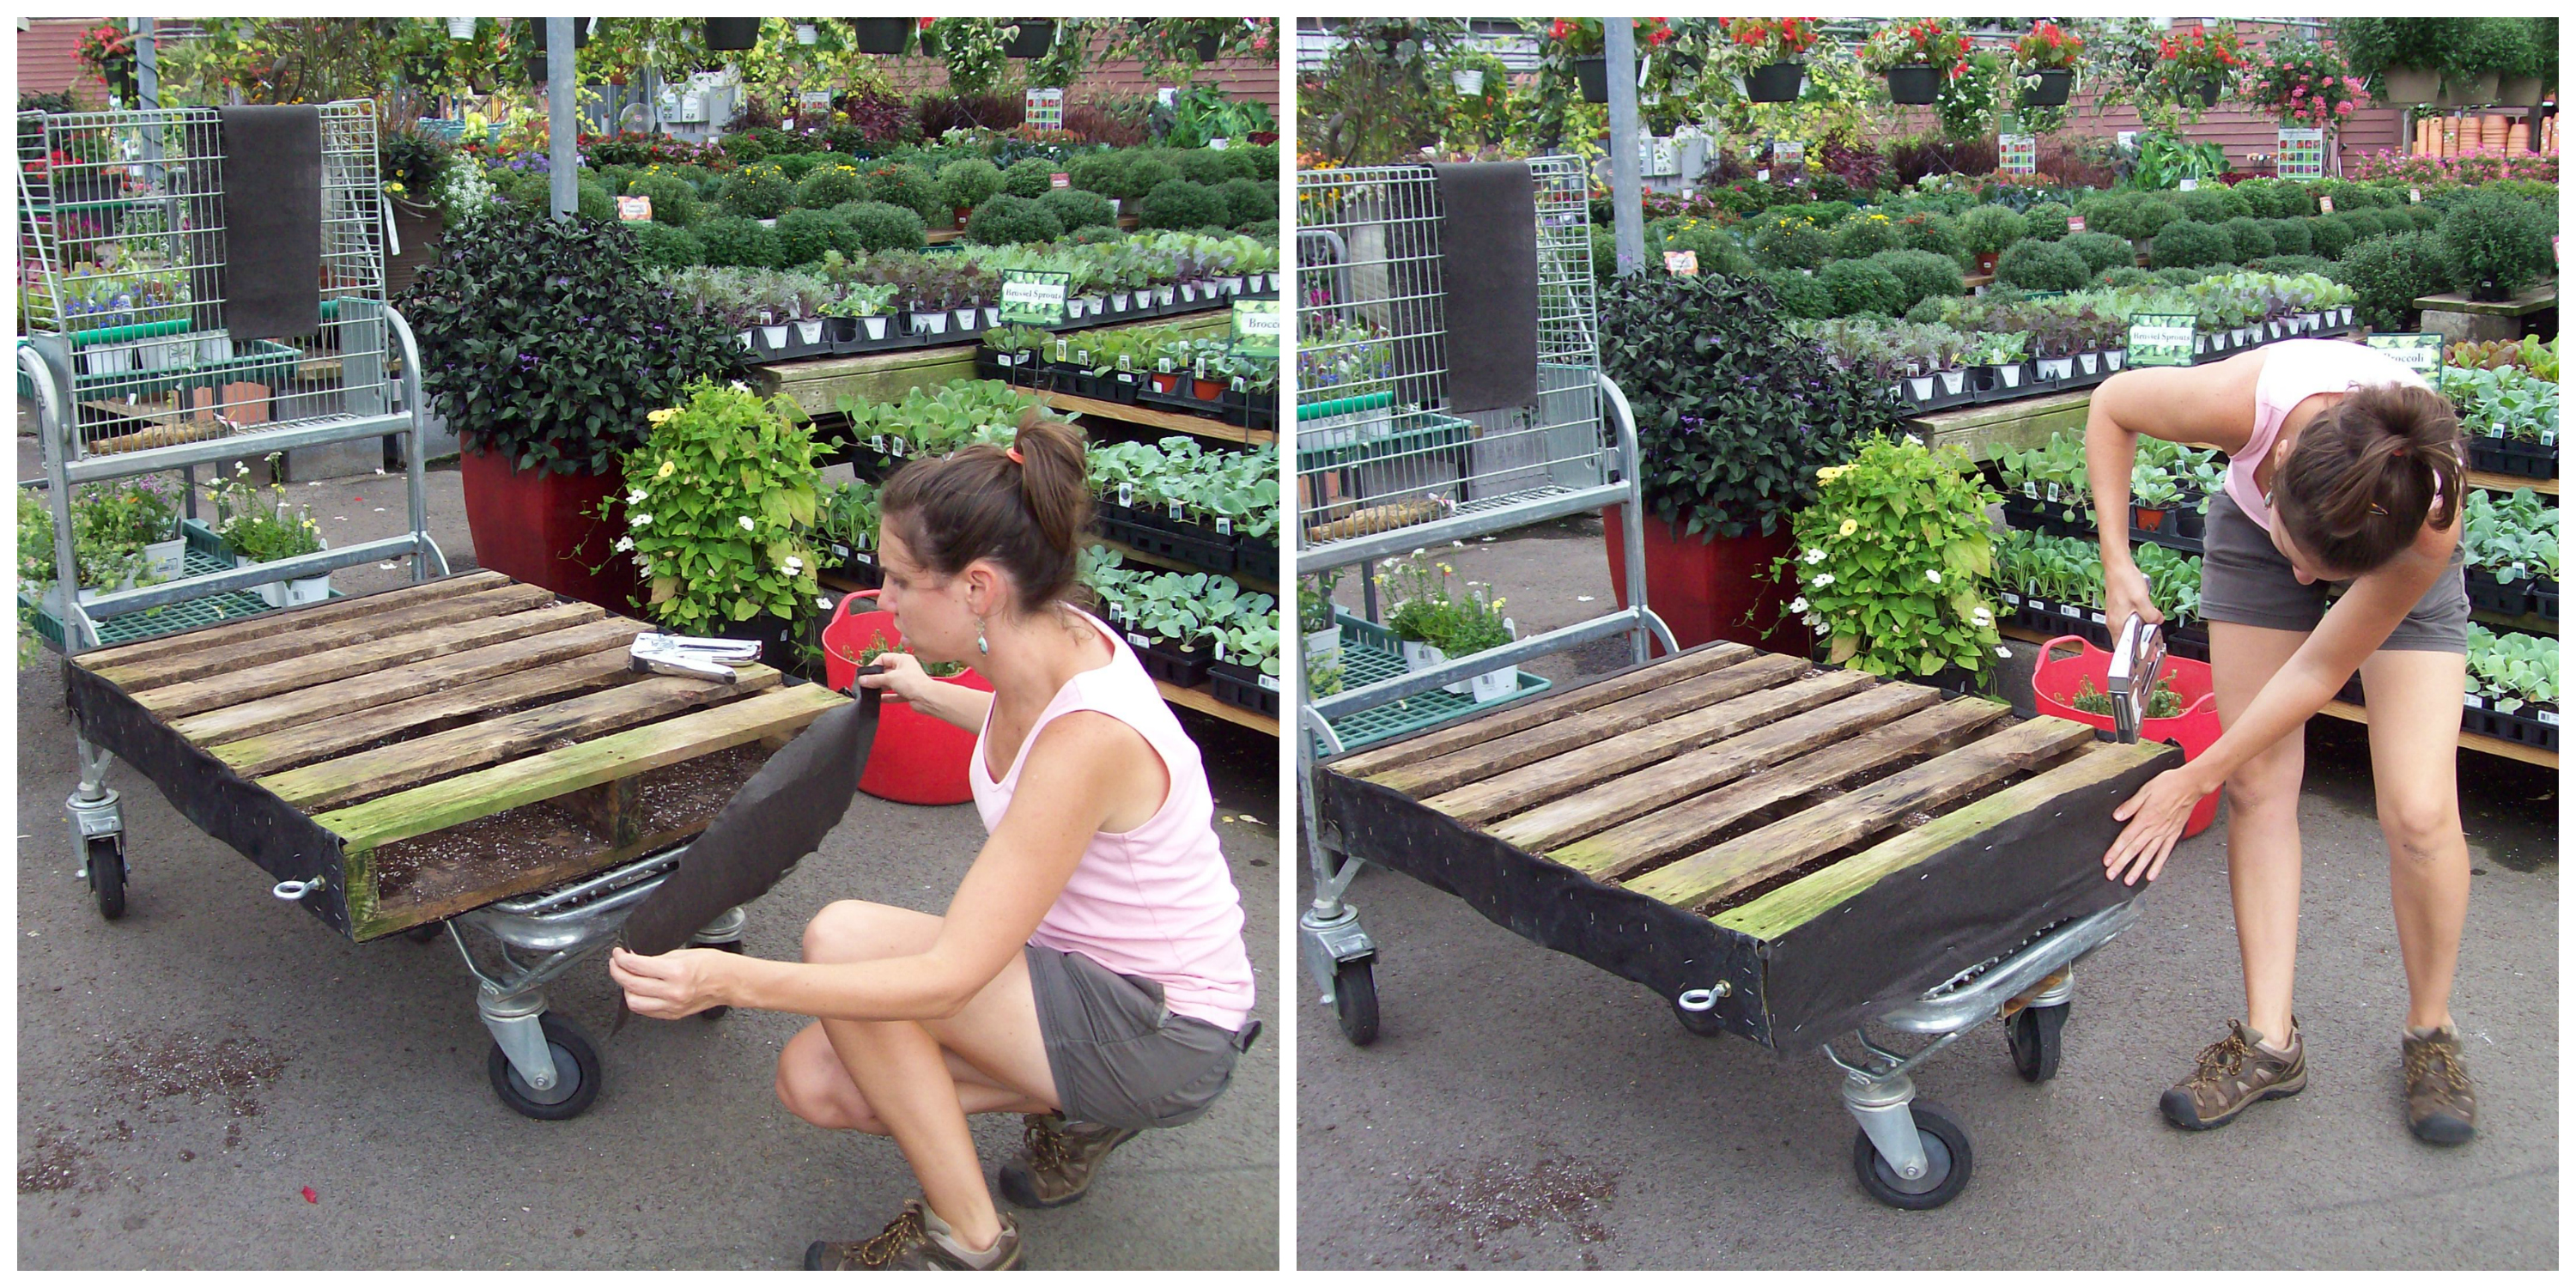
Step 1: Lining your pallet
This can be a one man (or woman!) job but it’s much easier if you have a buddy. Here you’ll want to line the pallet all the way around with the landscaping fabric (except the front, where we’ll be planting our plants). I always try to do it with one large piece instead of cutting it up and lining each side separately. You want to make sure it’s tight, as this is what’s holding the soil in. The top of the pallet I typically line separately since we’ll be removing that portion at a later date when we stand the pallet up.
Step 2: Adding Potting Medium
Next we want to fill the fully lined pallet with potting medium. I usually use ProMix Organic Herb & Veggie as it’s a lighter soil…and organic! Lay your pallet down flat and start scooping! Be sure to fill in, leaving ruts between each slat (where our plants will go). I try to pack the bottom pretty tight – don’t forget this will be standing up so stuff can shift a little. You don’t want to leave room for much movement. The top doesn’t have to be packed as tight since we’ll be planting there later on.

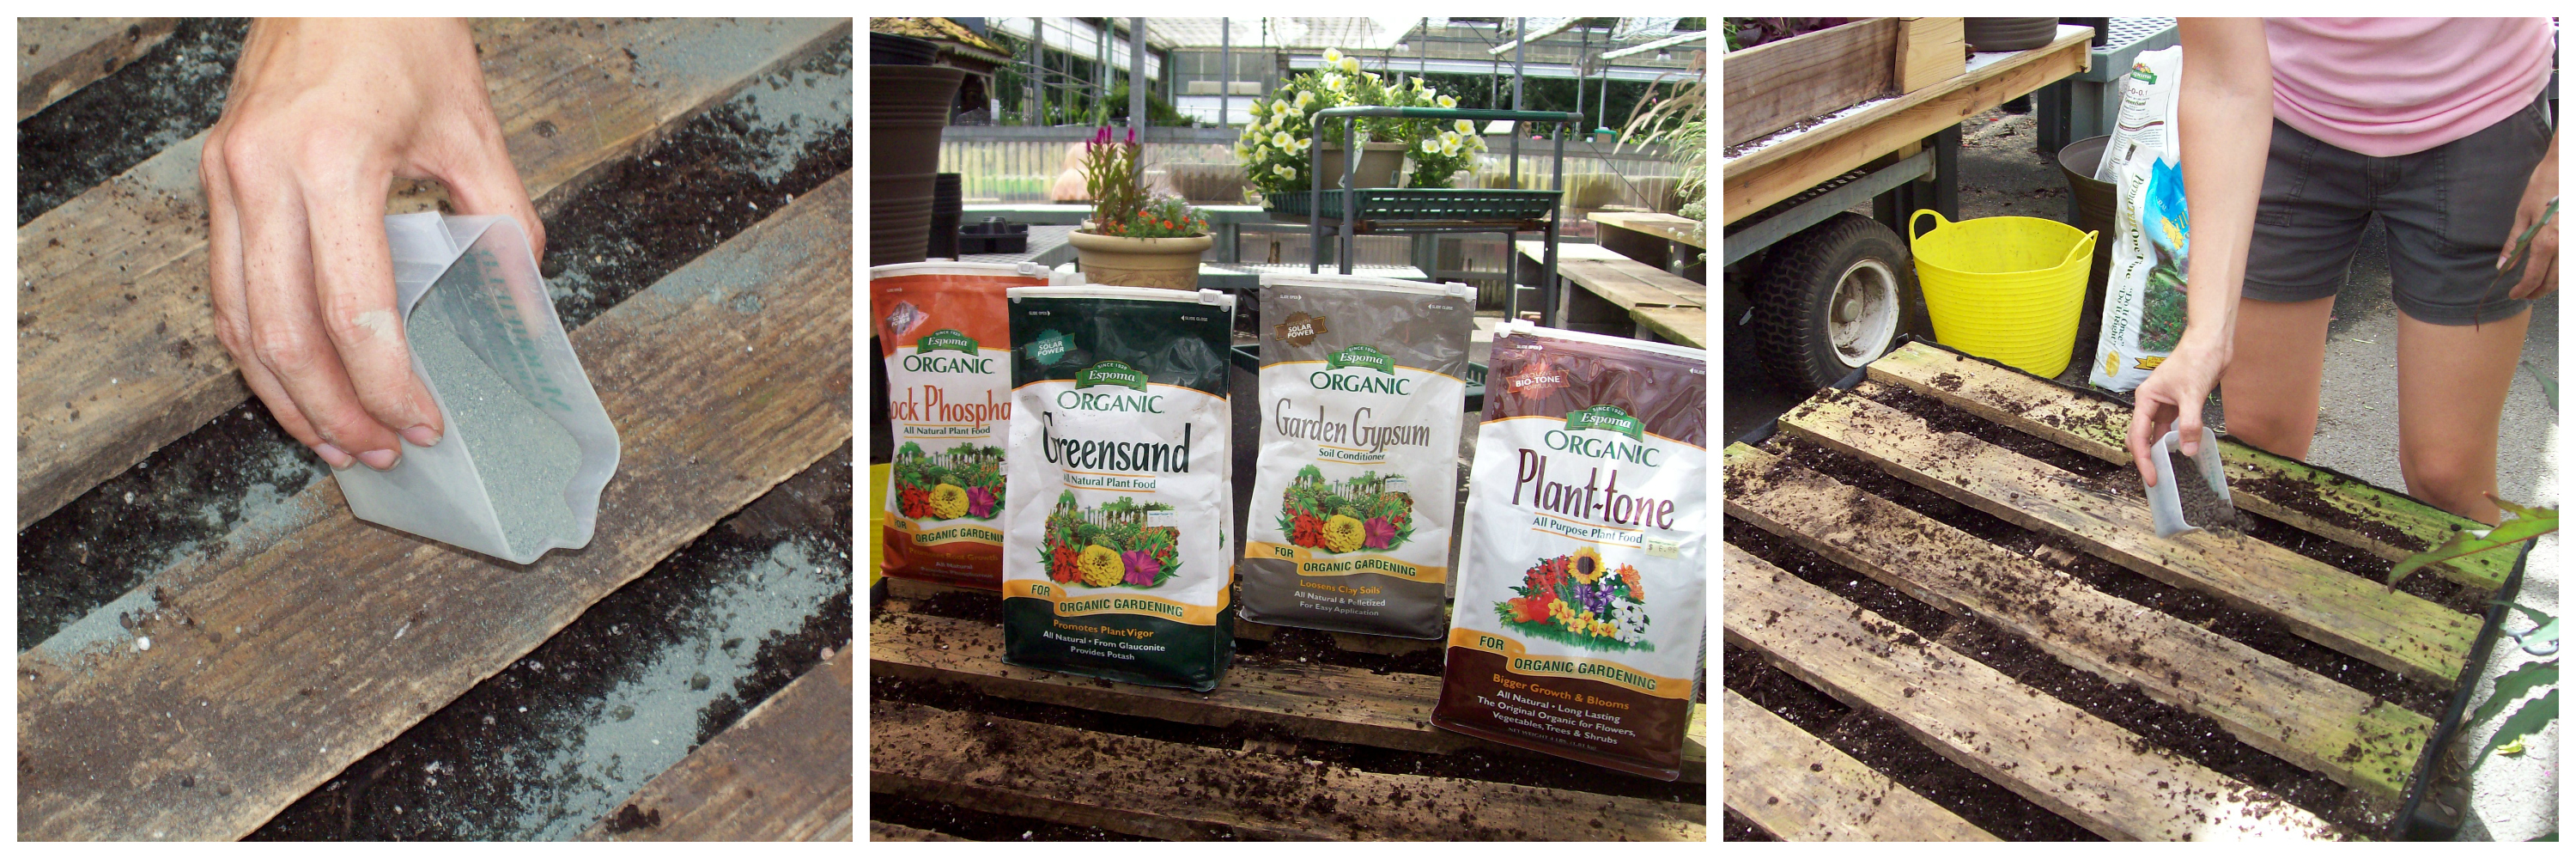
Step 3: Don’t forget to fertilize!
I like to use a blend of 4 fertilizers – and I use this blend in ALL my container gardens, so this is a cocktail to always keep in mind when potting…and it’s organic! My very unscientific method is to take a small scooper and spread a thin layer of each of these products down each row where we will be planting. When you’re done, rake your hand over each row to slightly blend.
Step 4: Planting
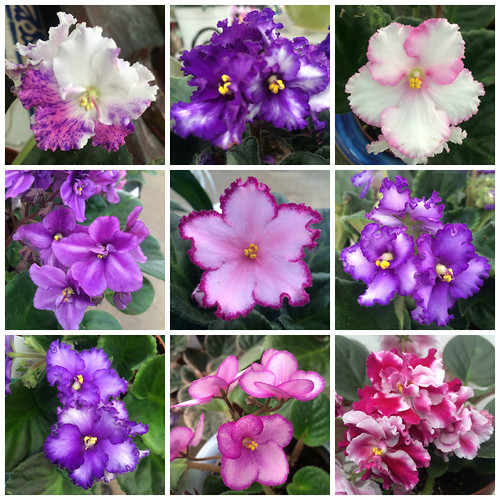
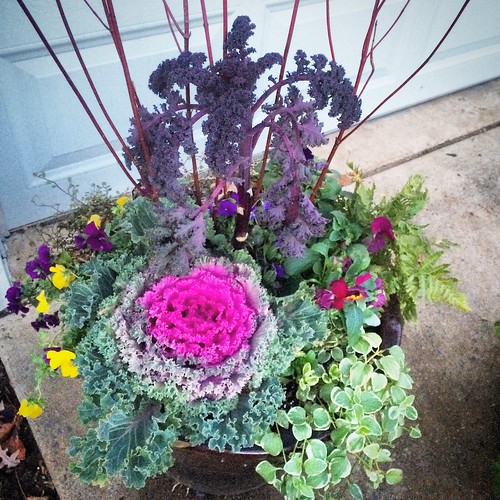
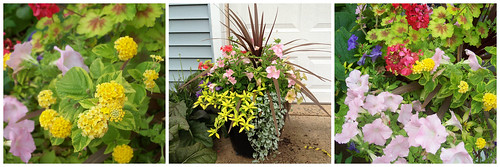
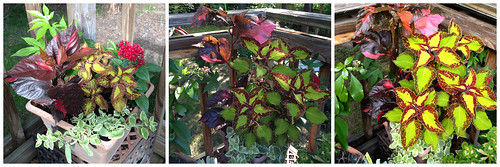
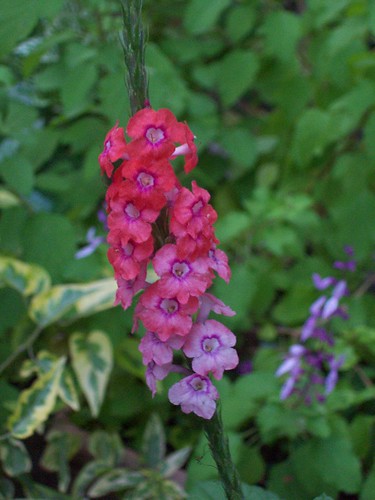
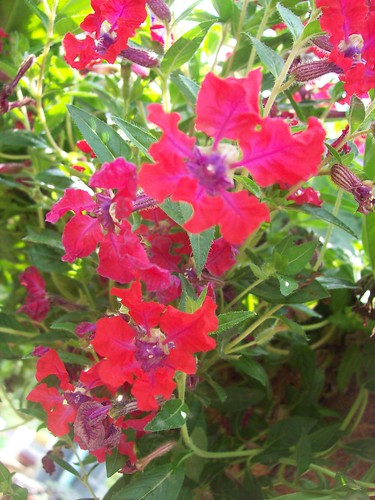
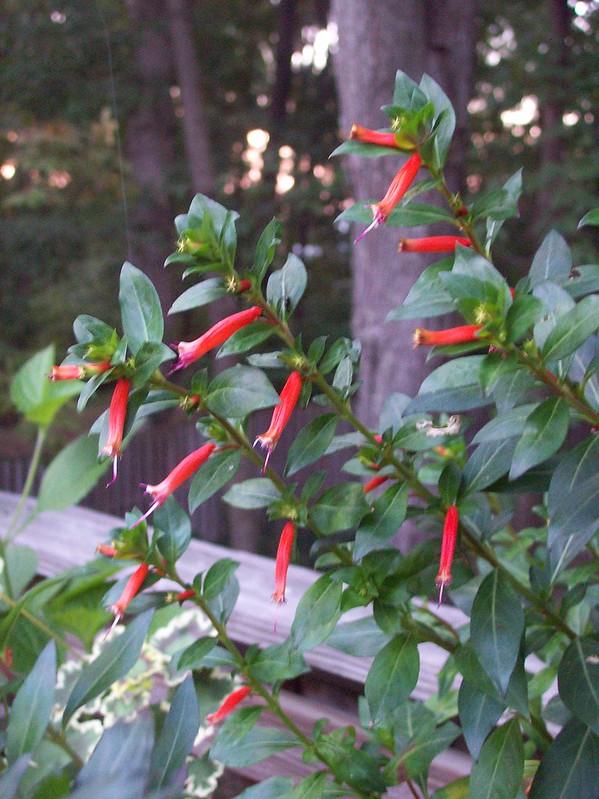
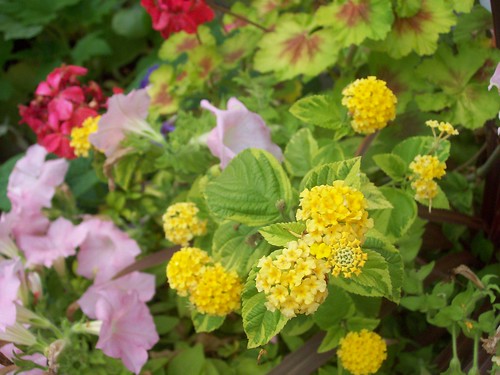
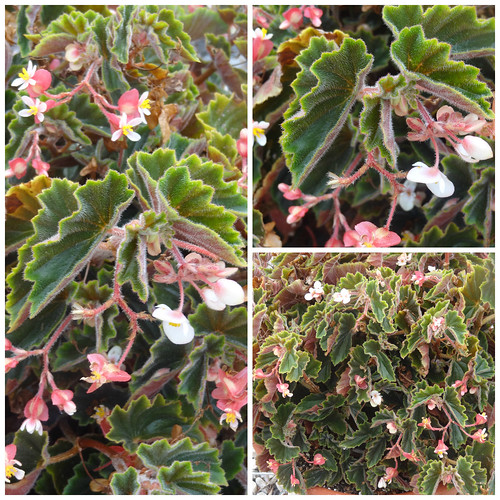
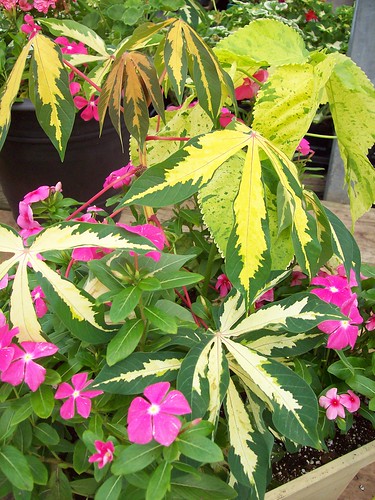
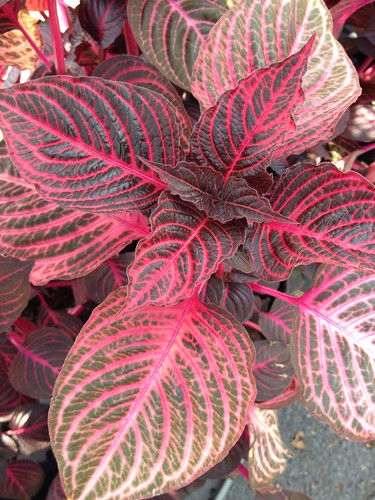
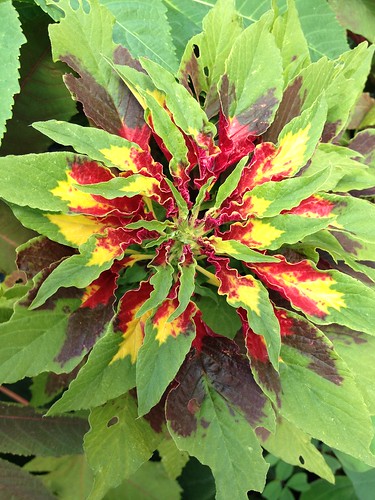
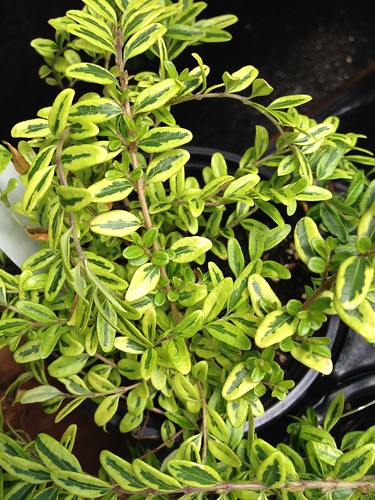
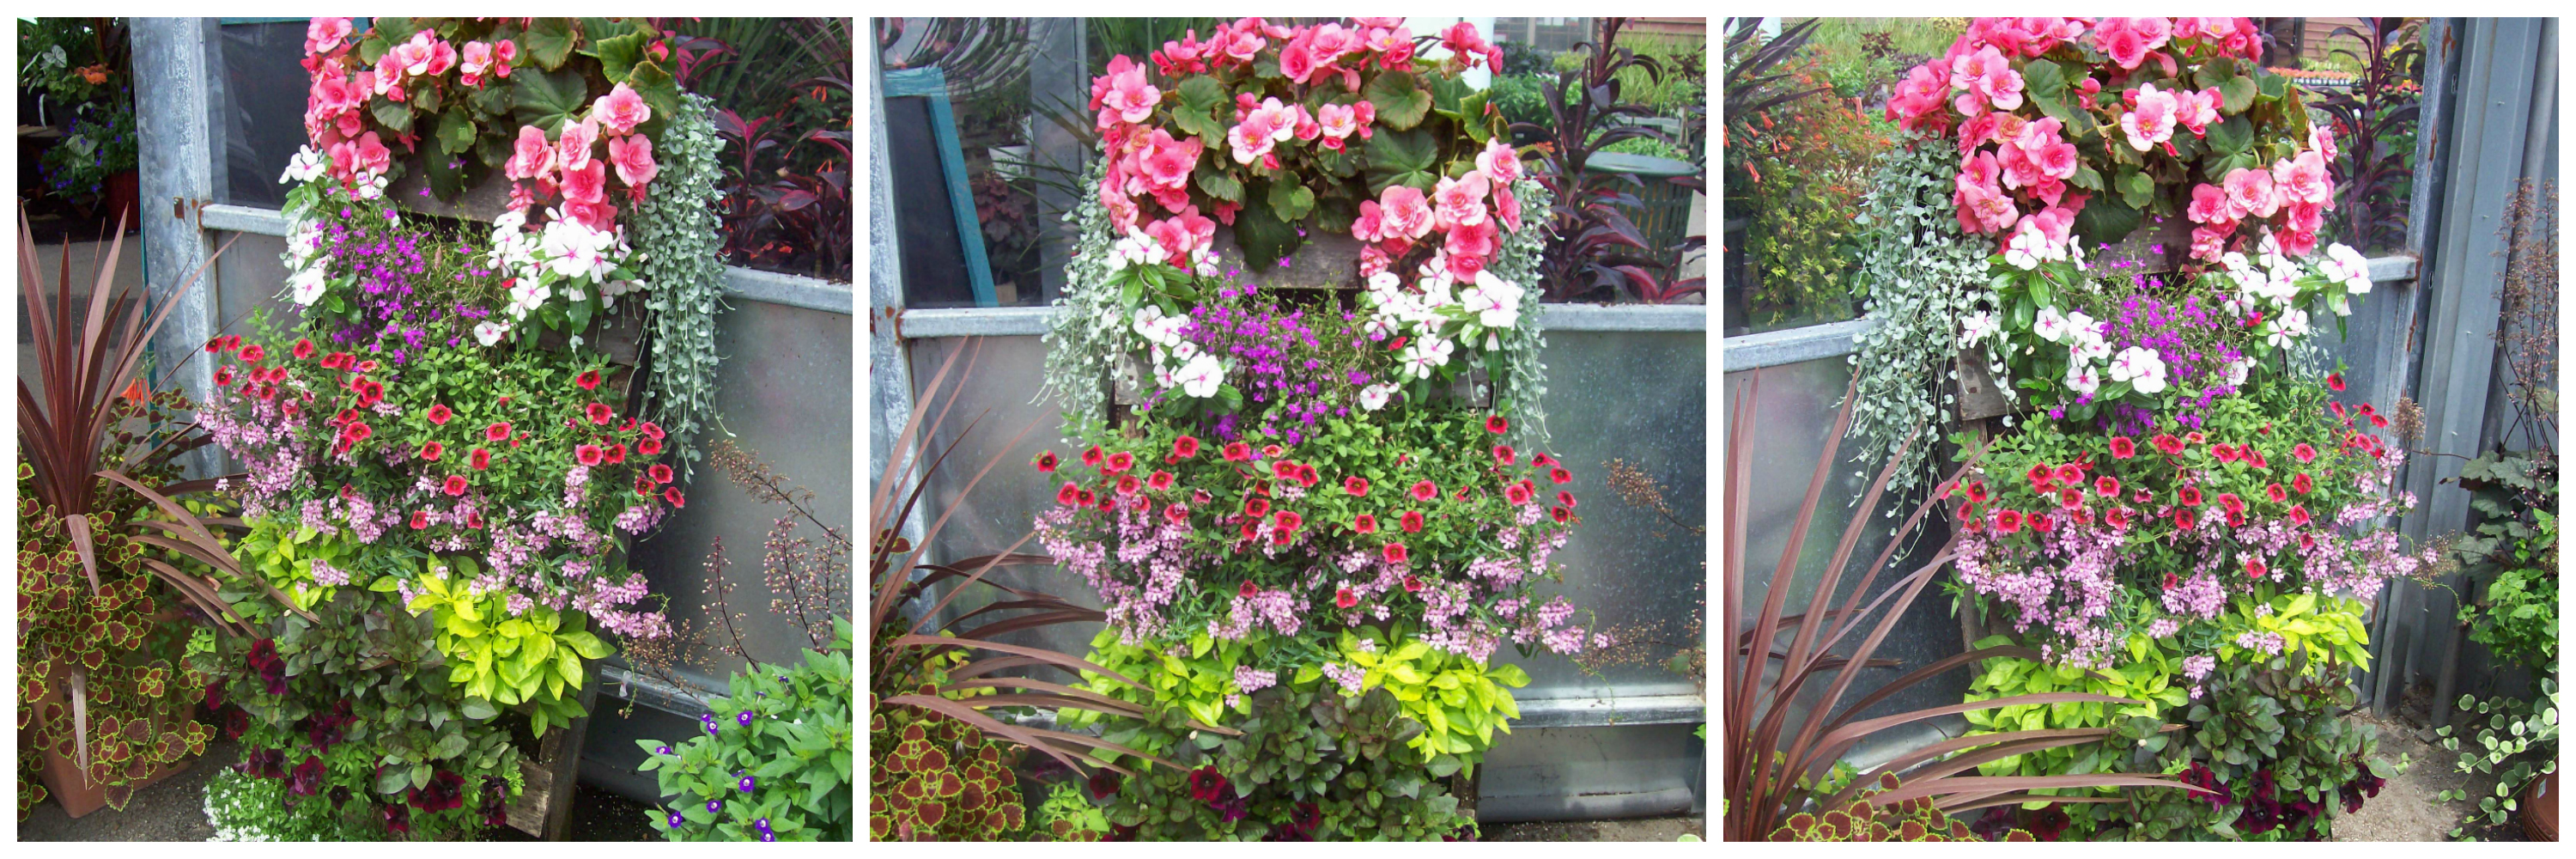
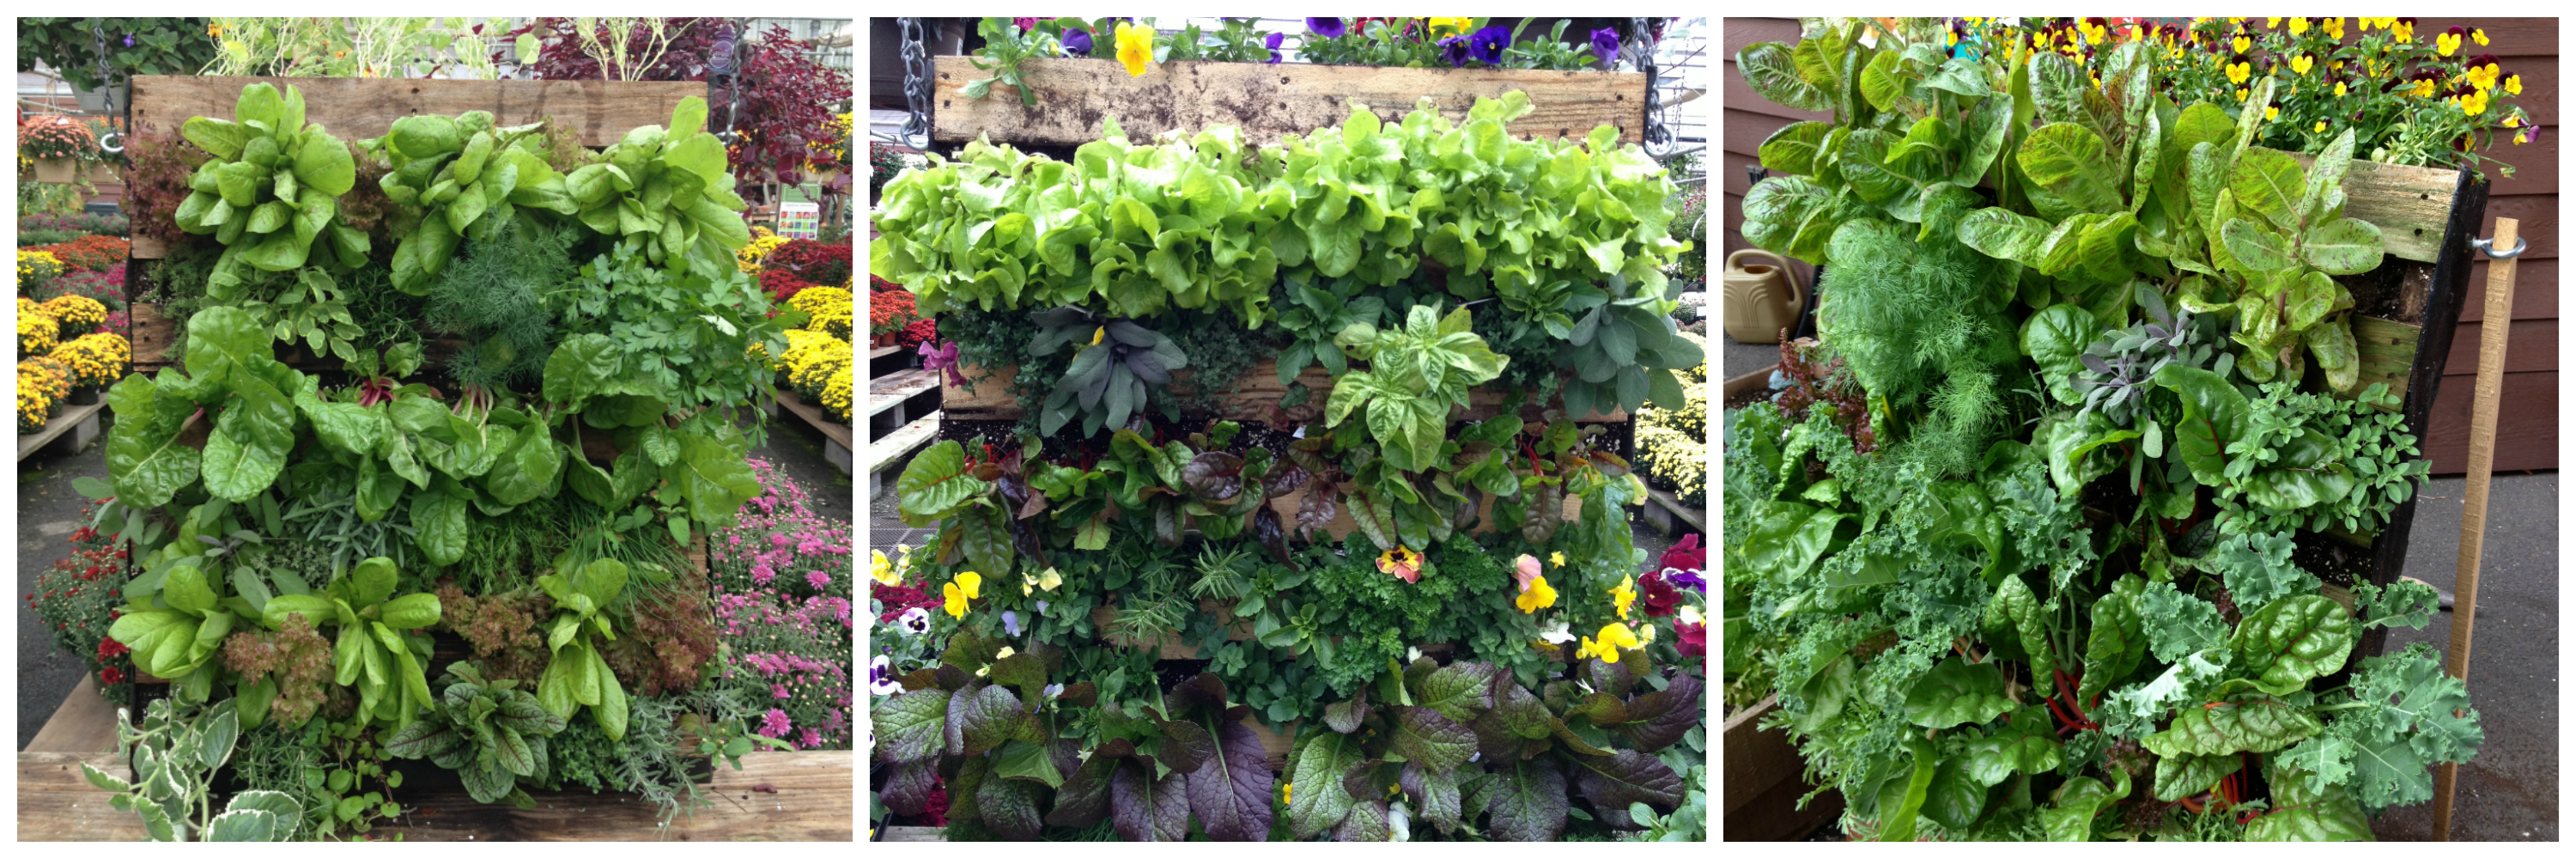
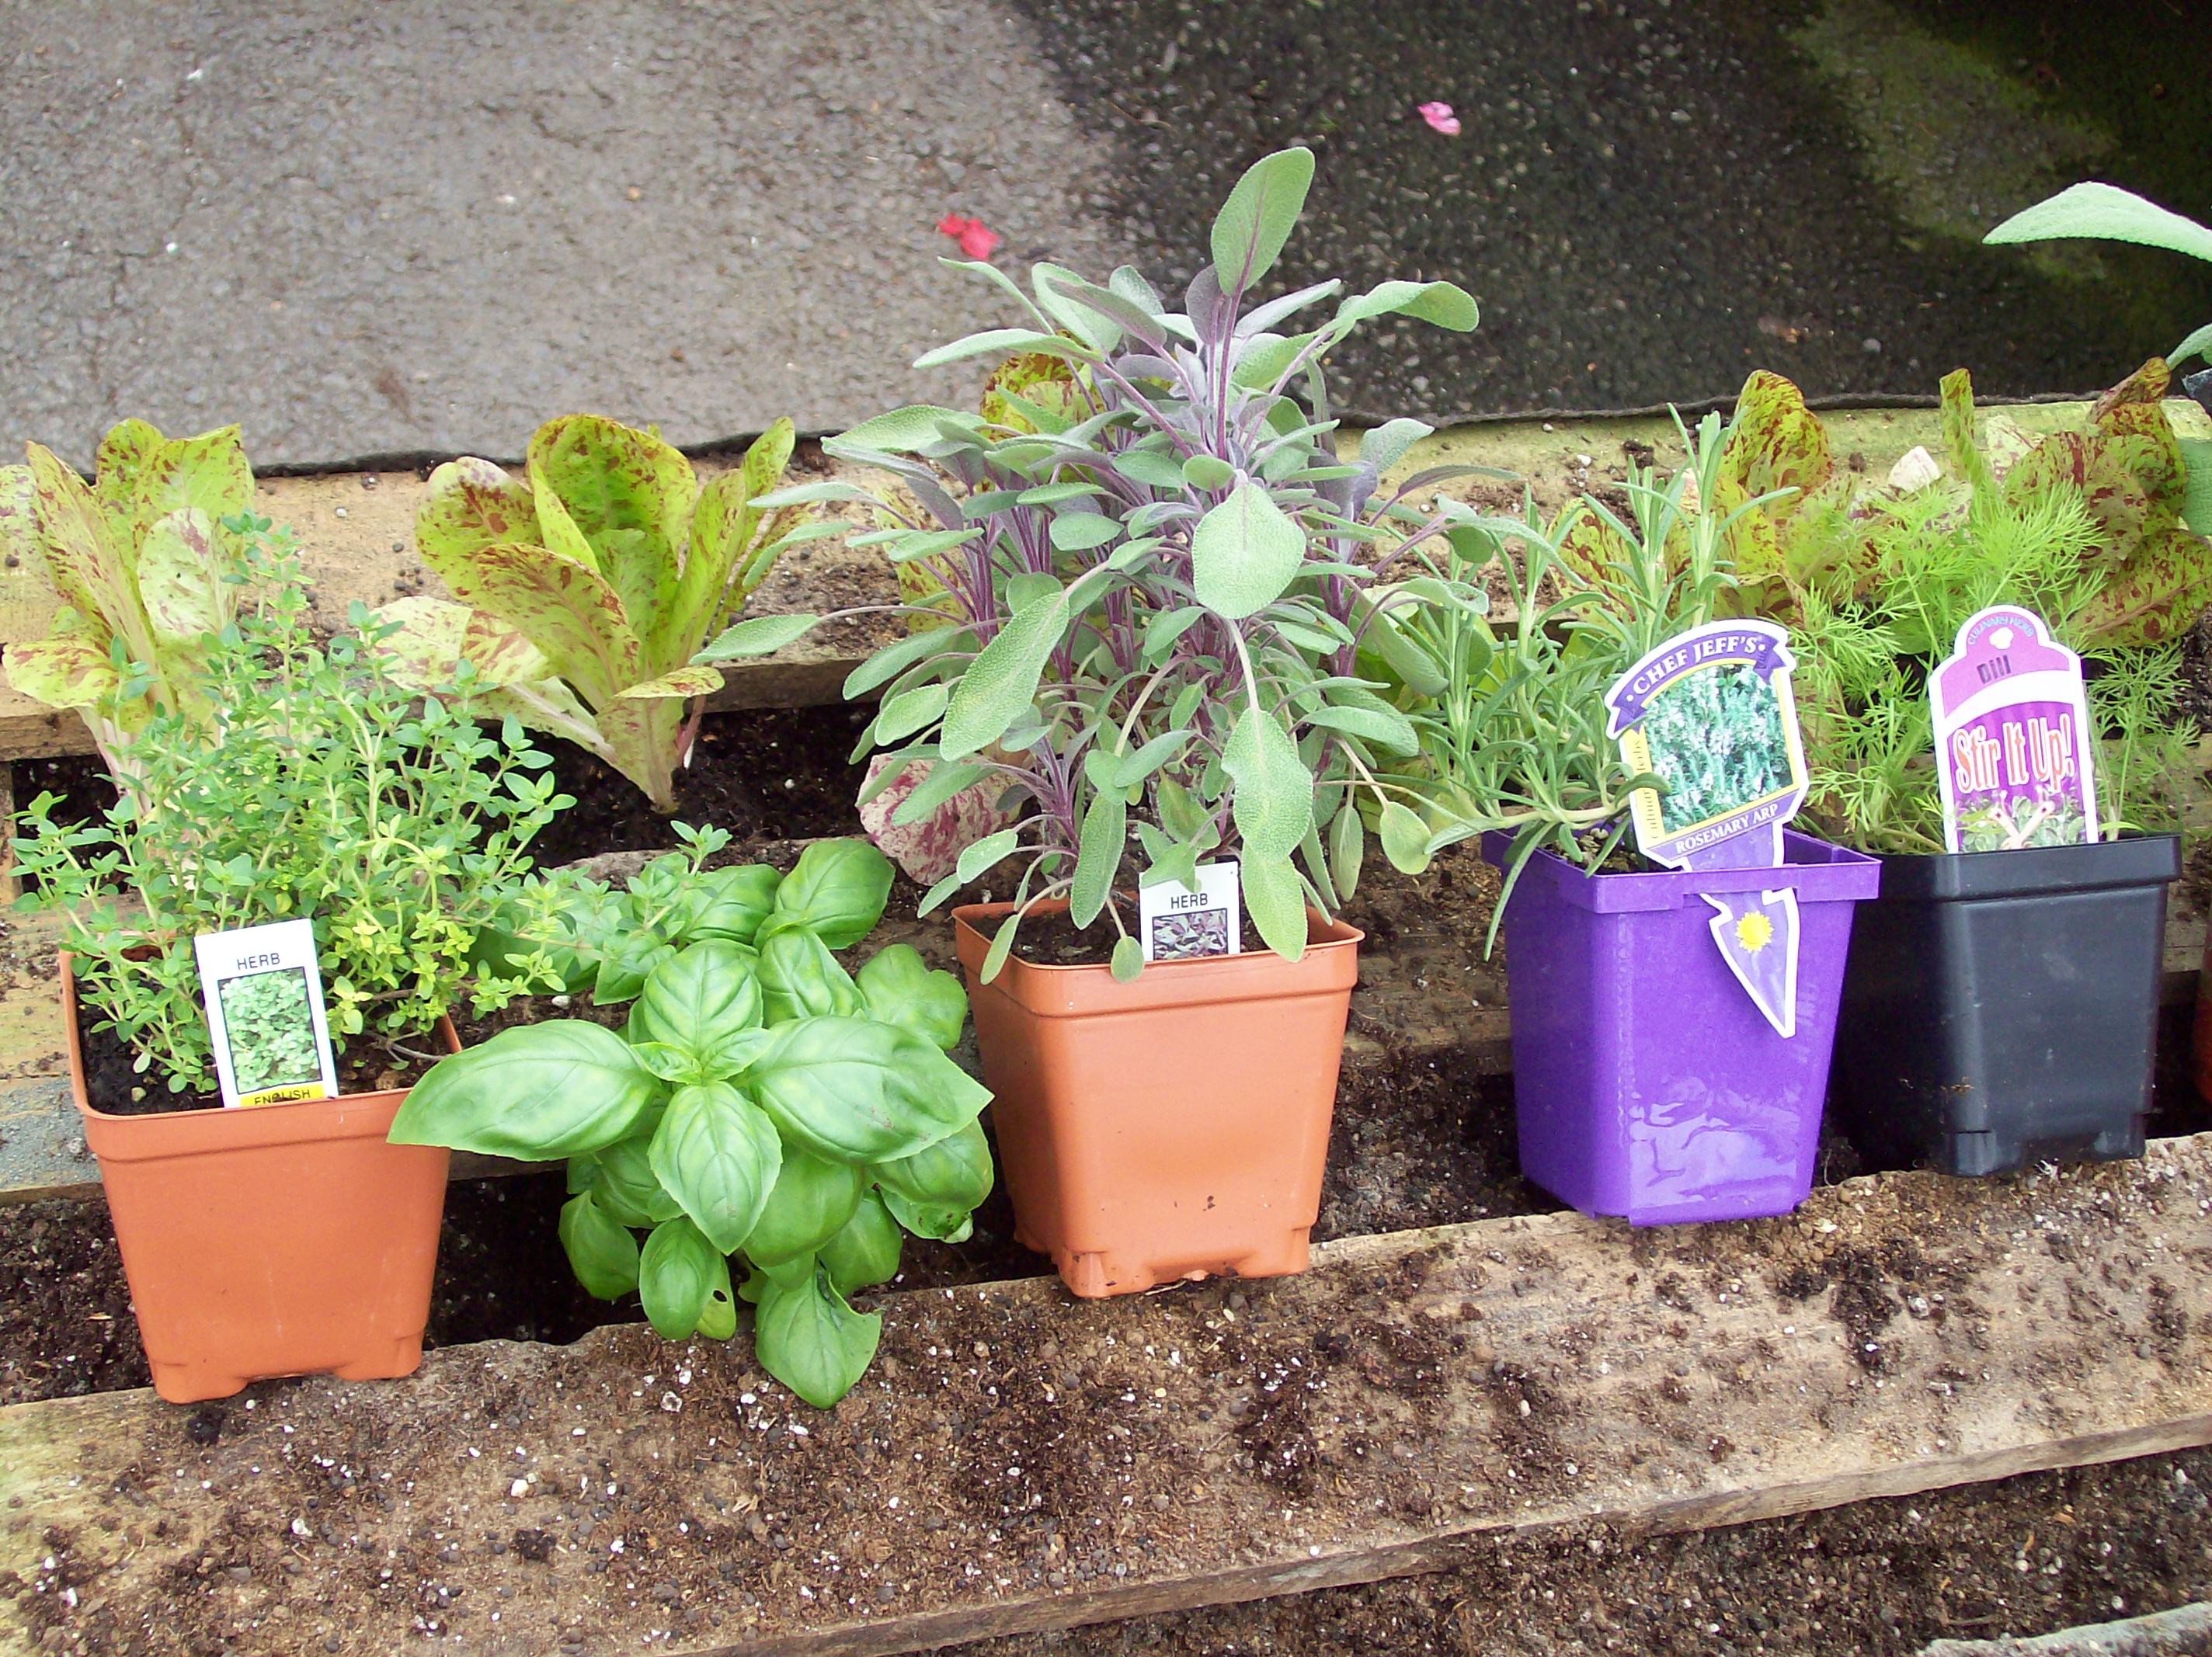
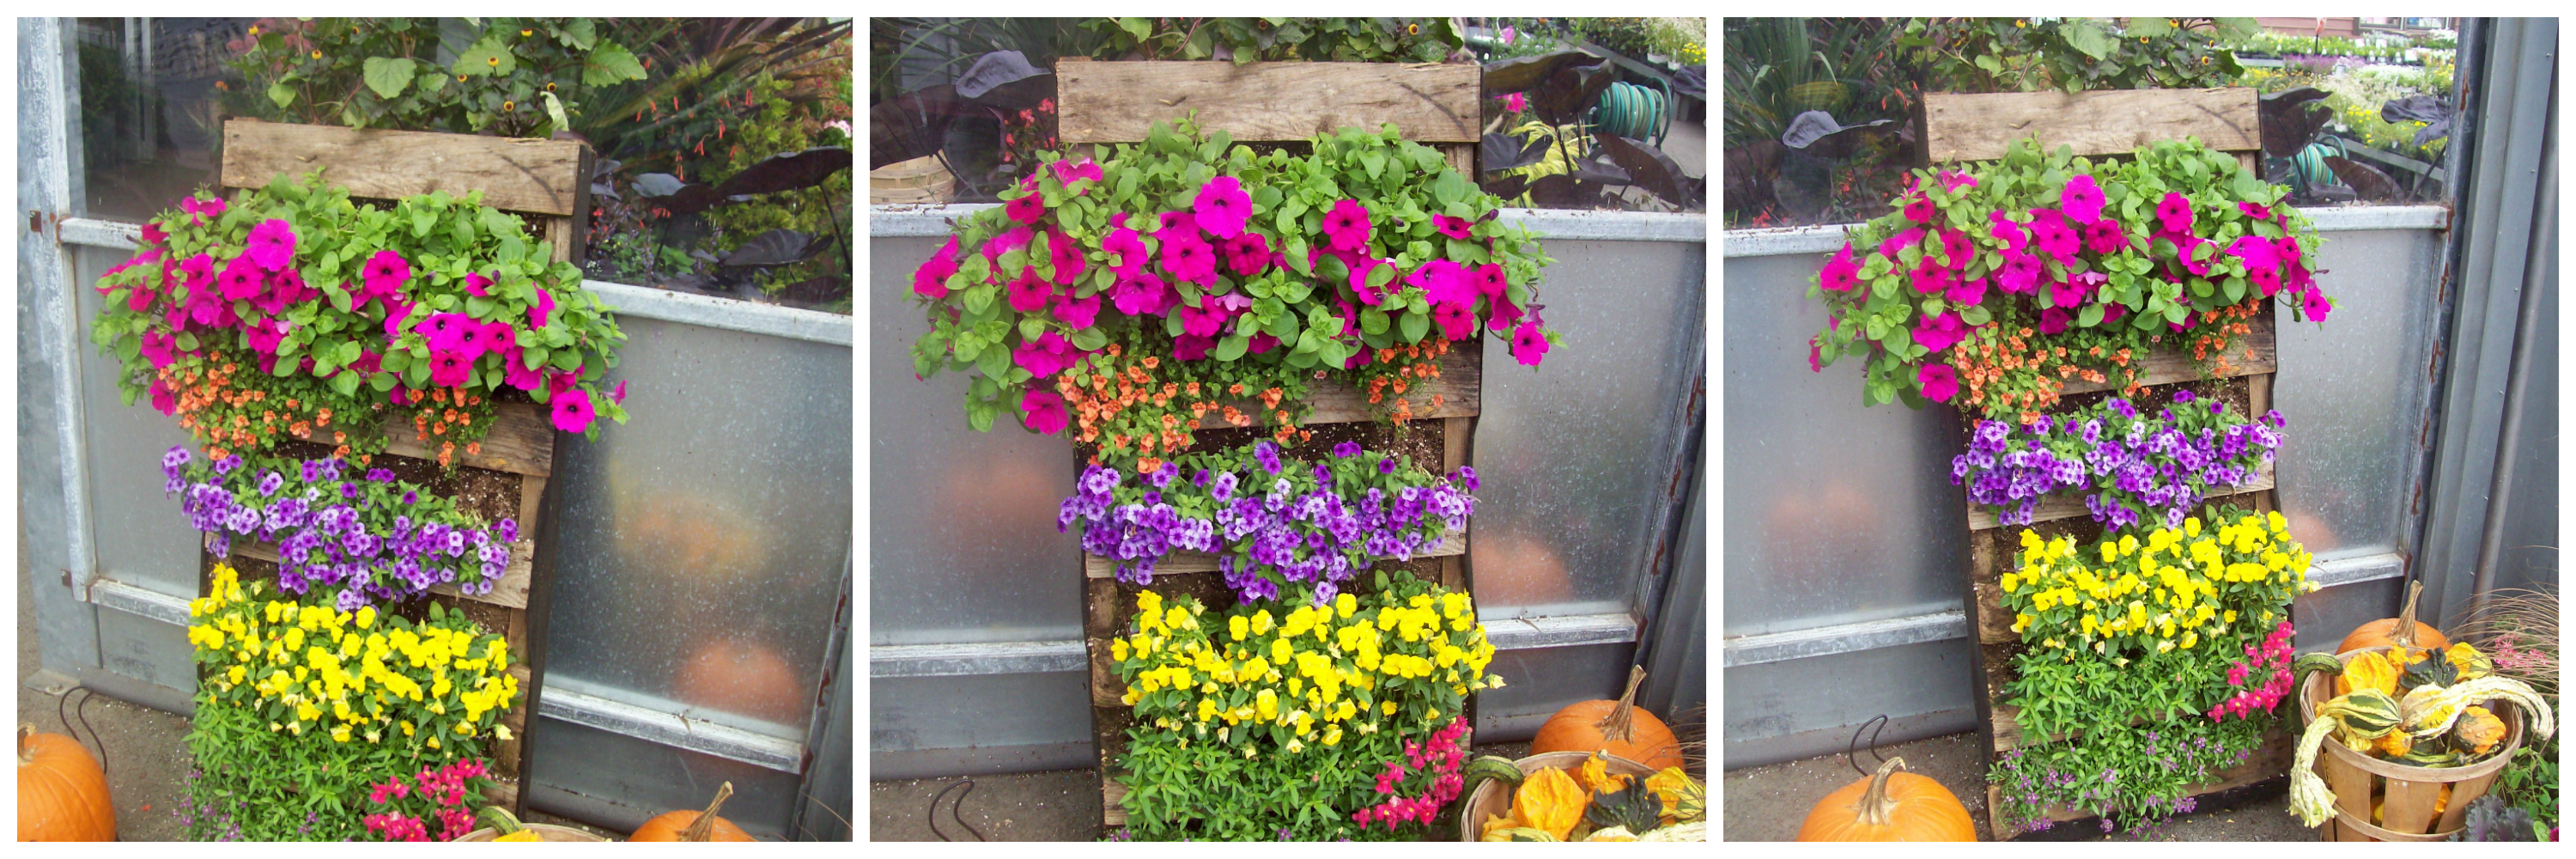
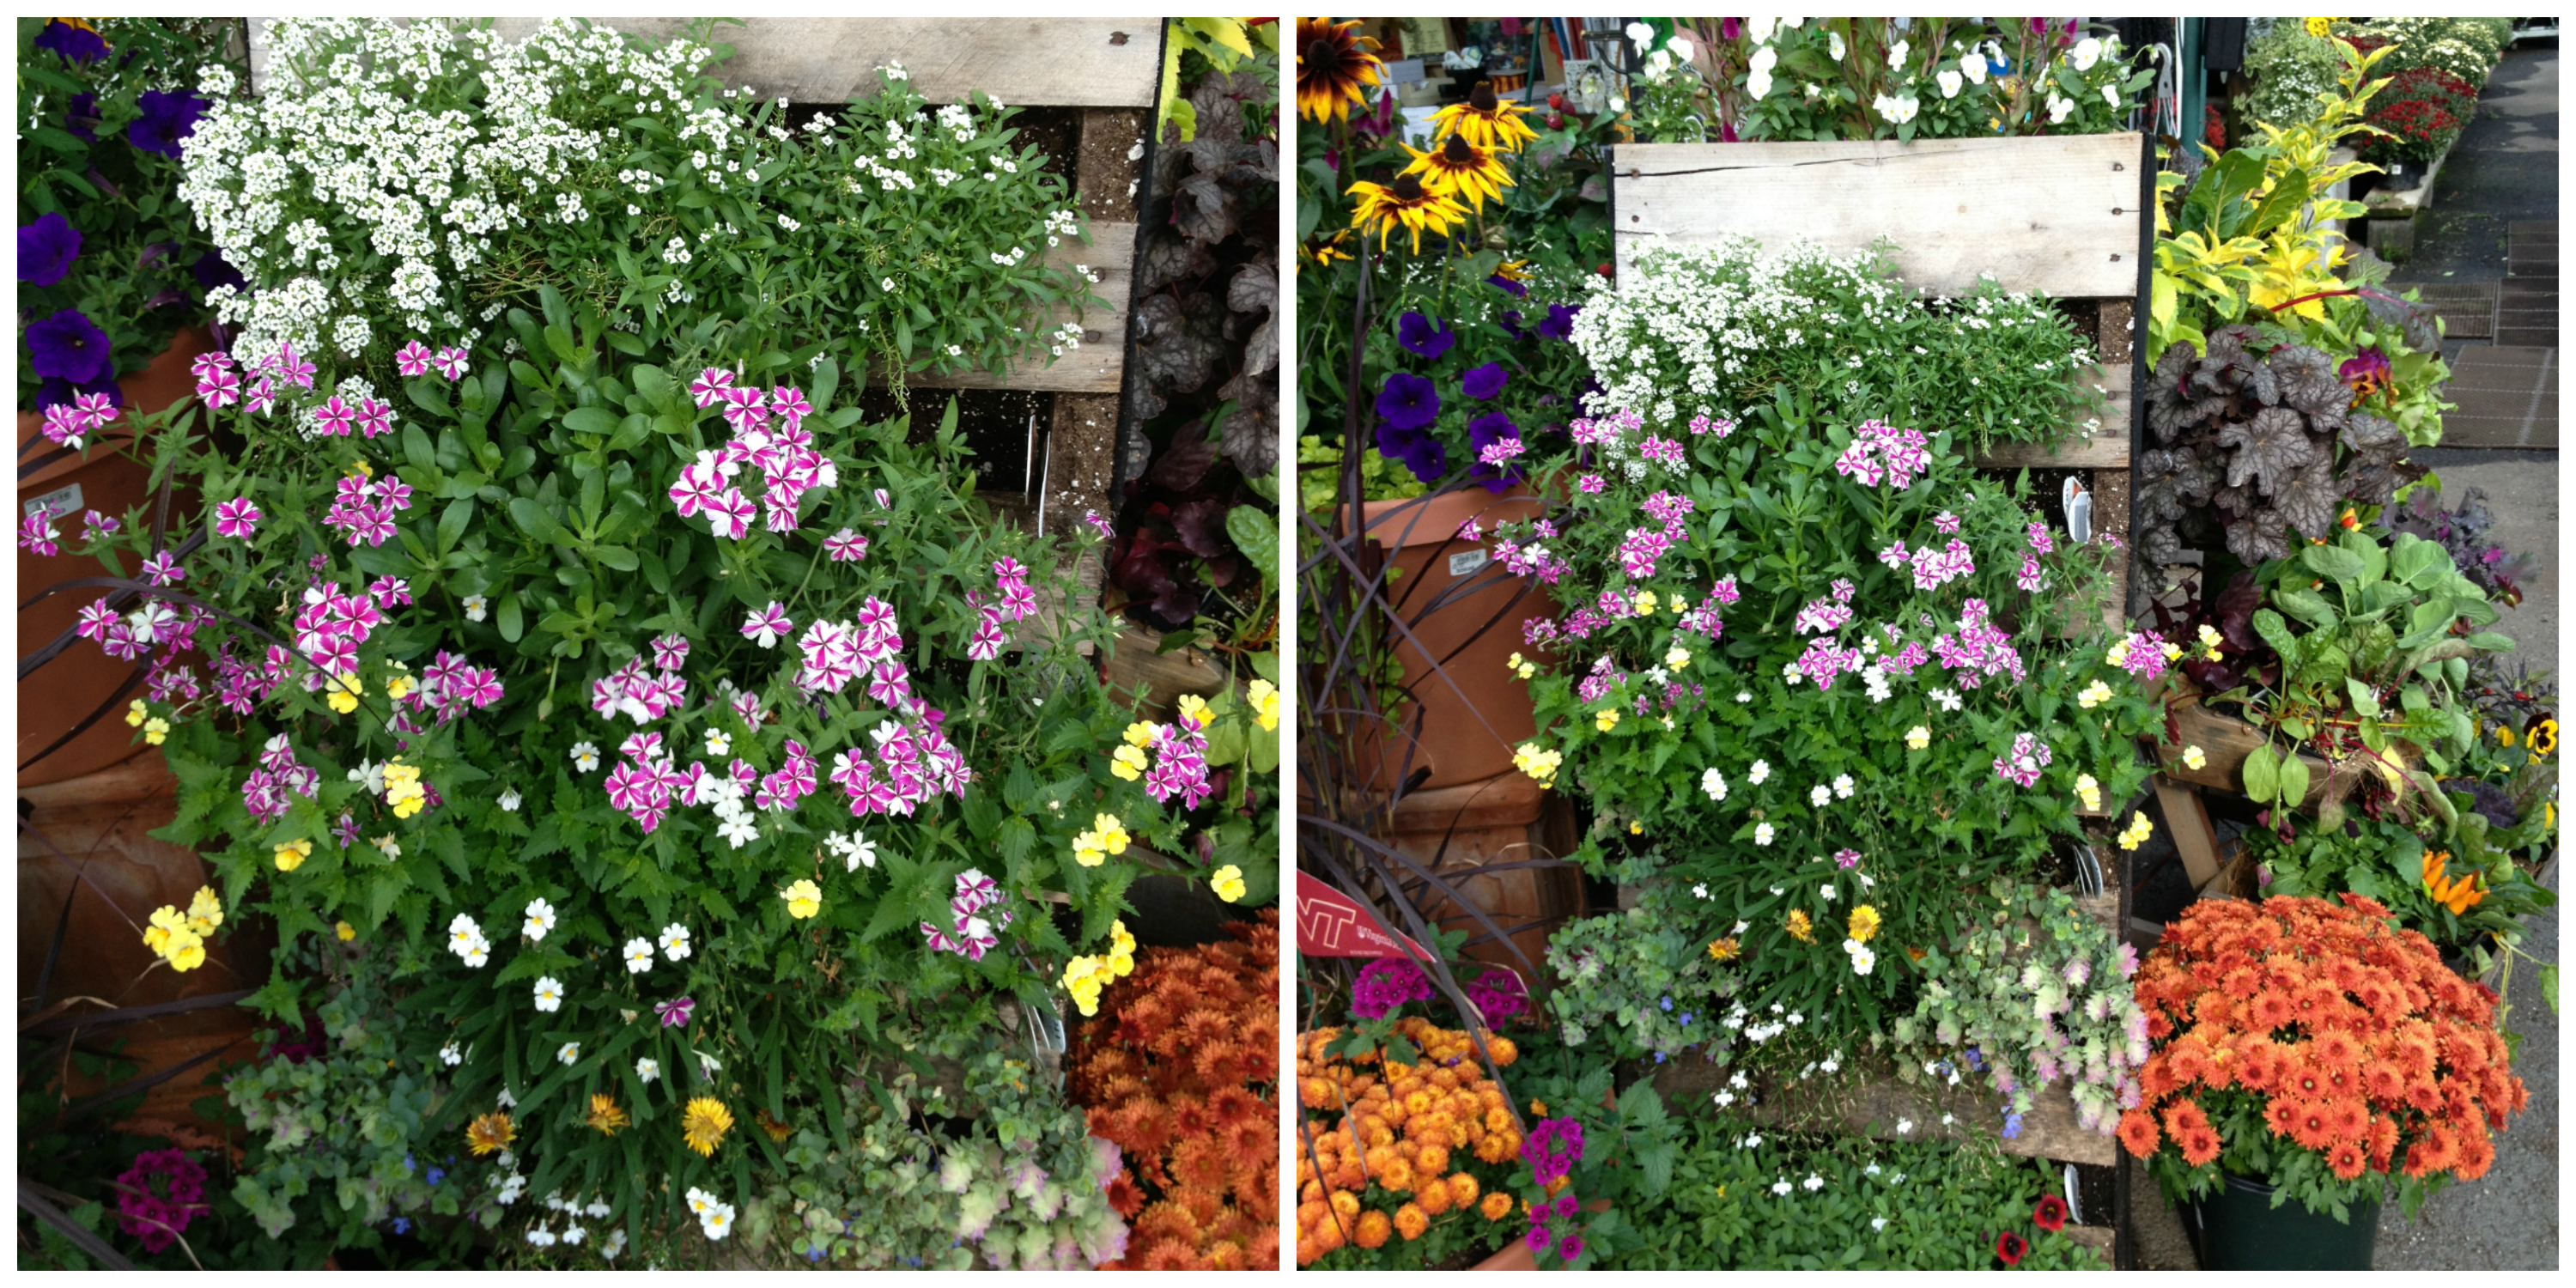
Now for the real fun to begin! Get your creative juices flowing – choose your plants and how they will fit in. I often choose to do an all edibles and then a separate one for color, but feel free to mix it up. The options are endless! If you choose to do edibles, I recommend to use herbs and/or cool season leafy veggies, i.e. lettuce, spinach, violas, etc which you can grow two seasons per year – spring and fall. Summer veggies (tomatoes, squash, eggplant, etc) just grow too large for the pallet.
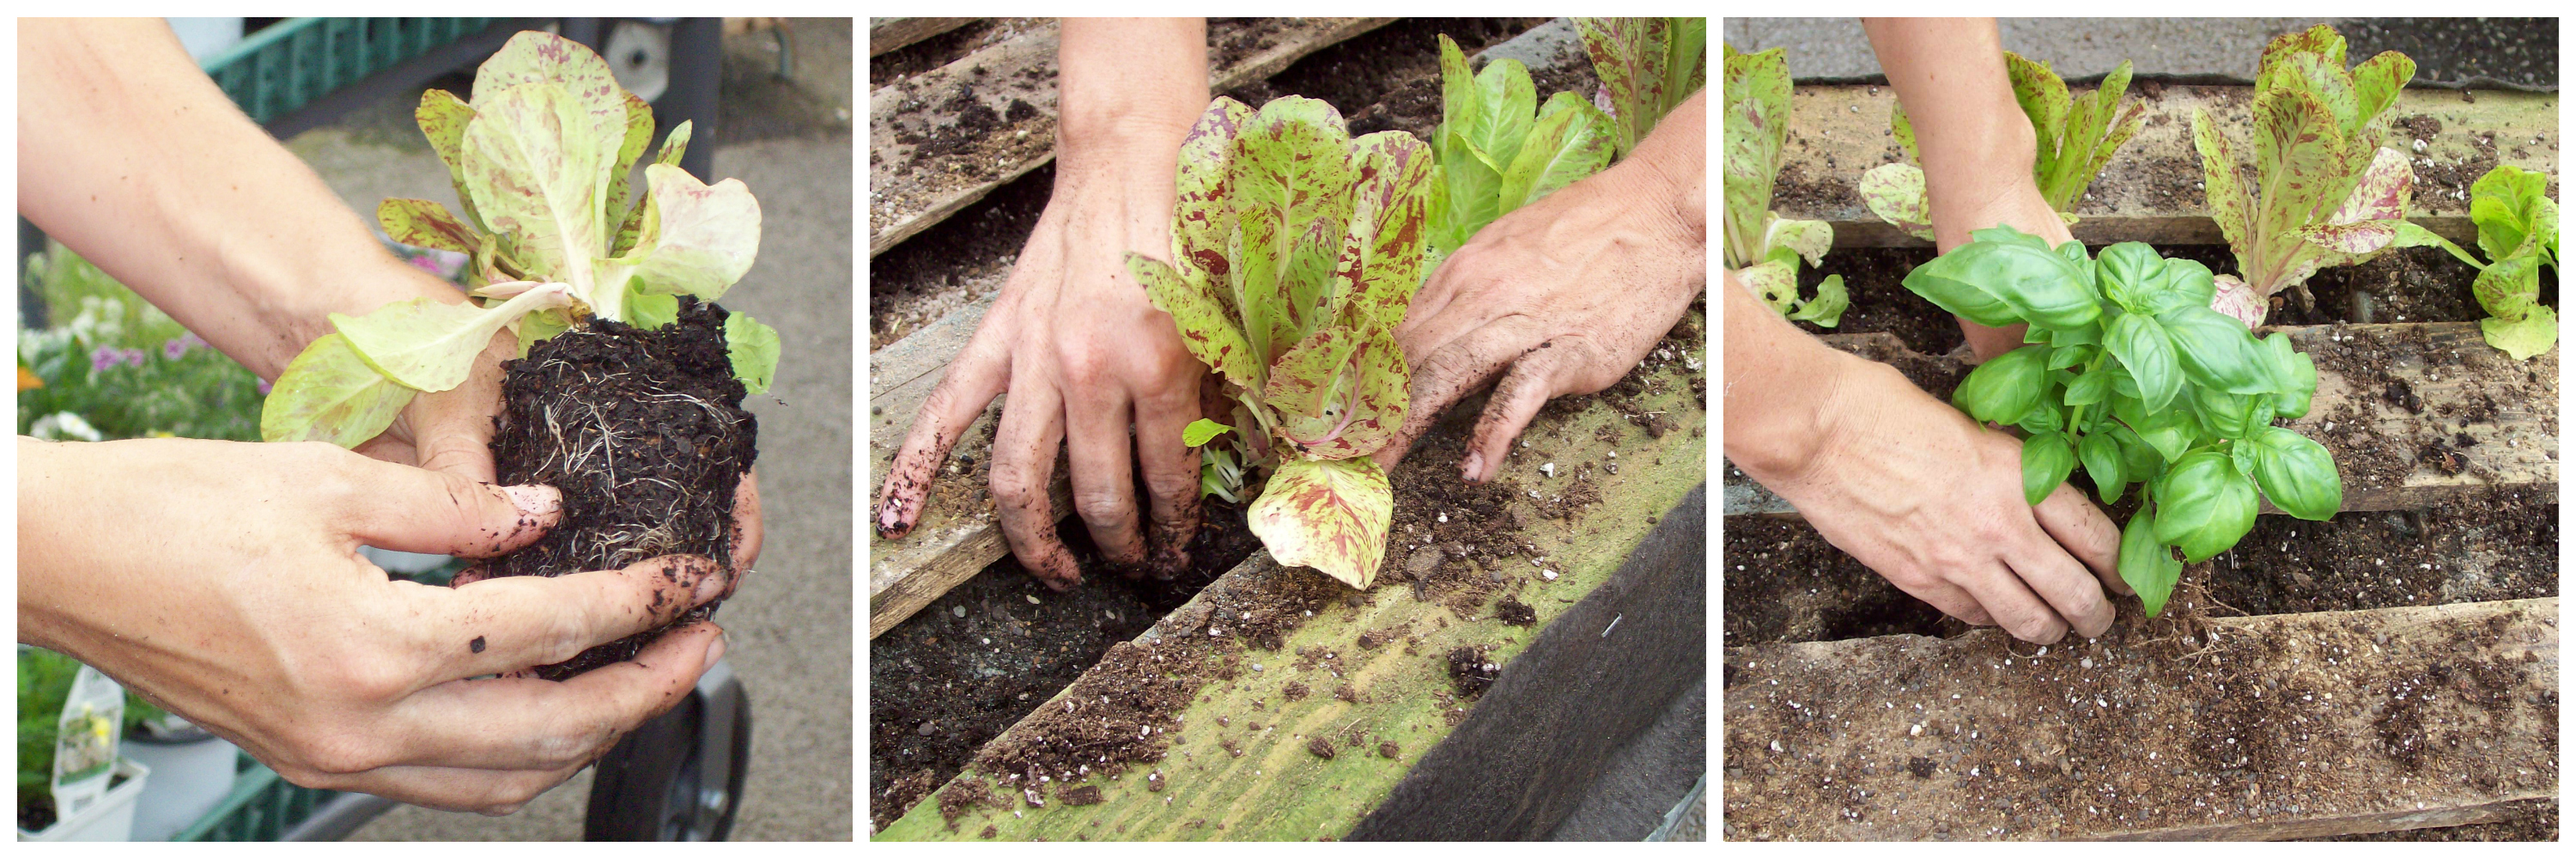
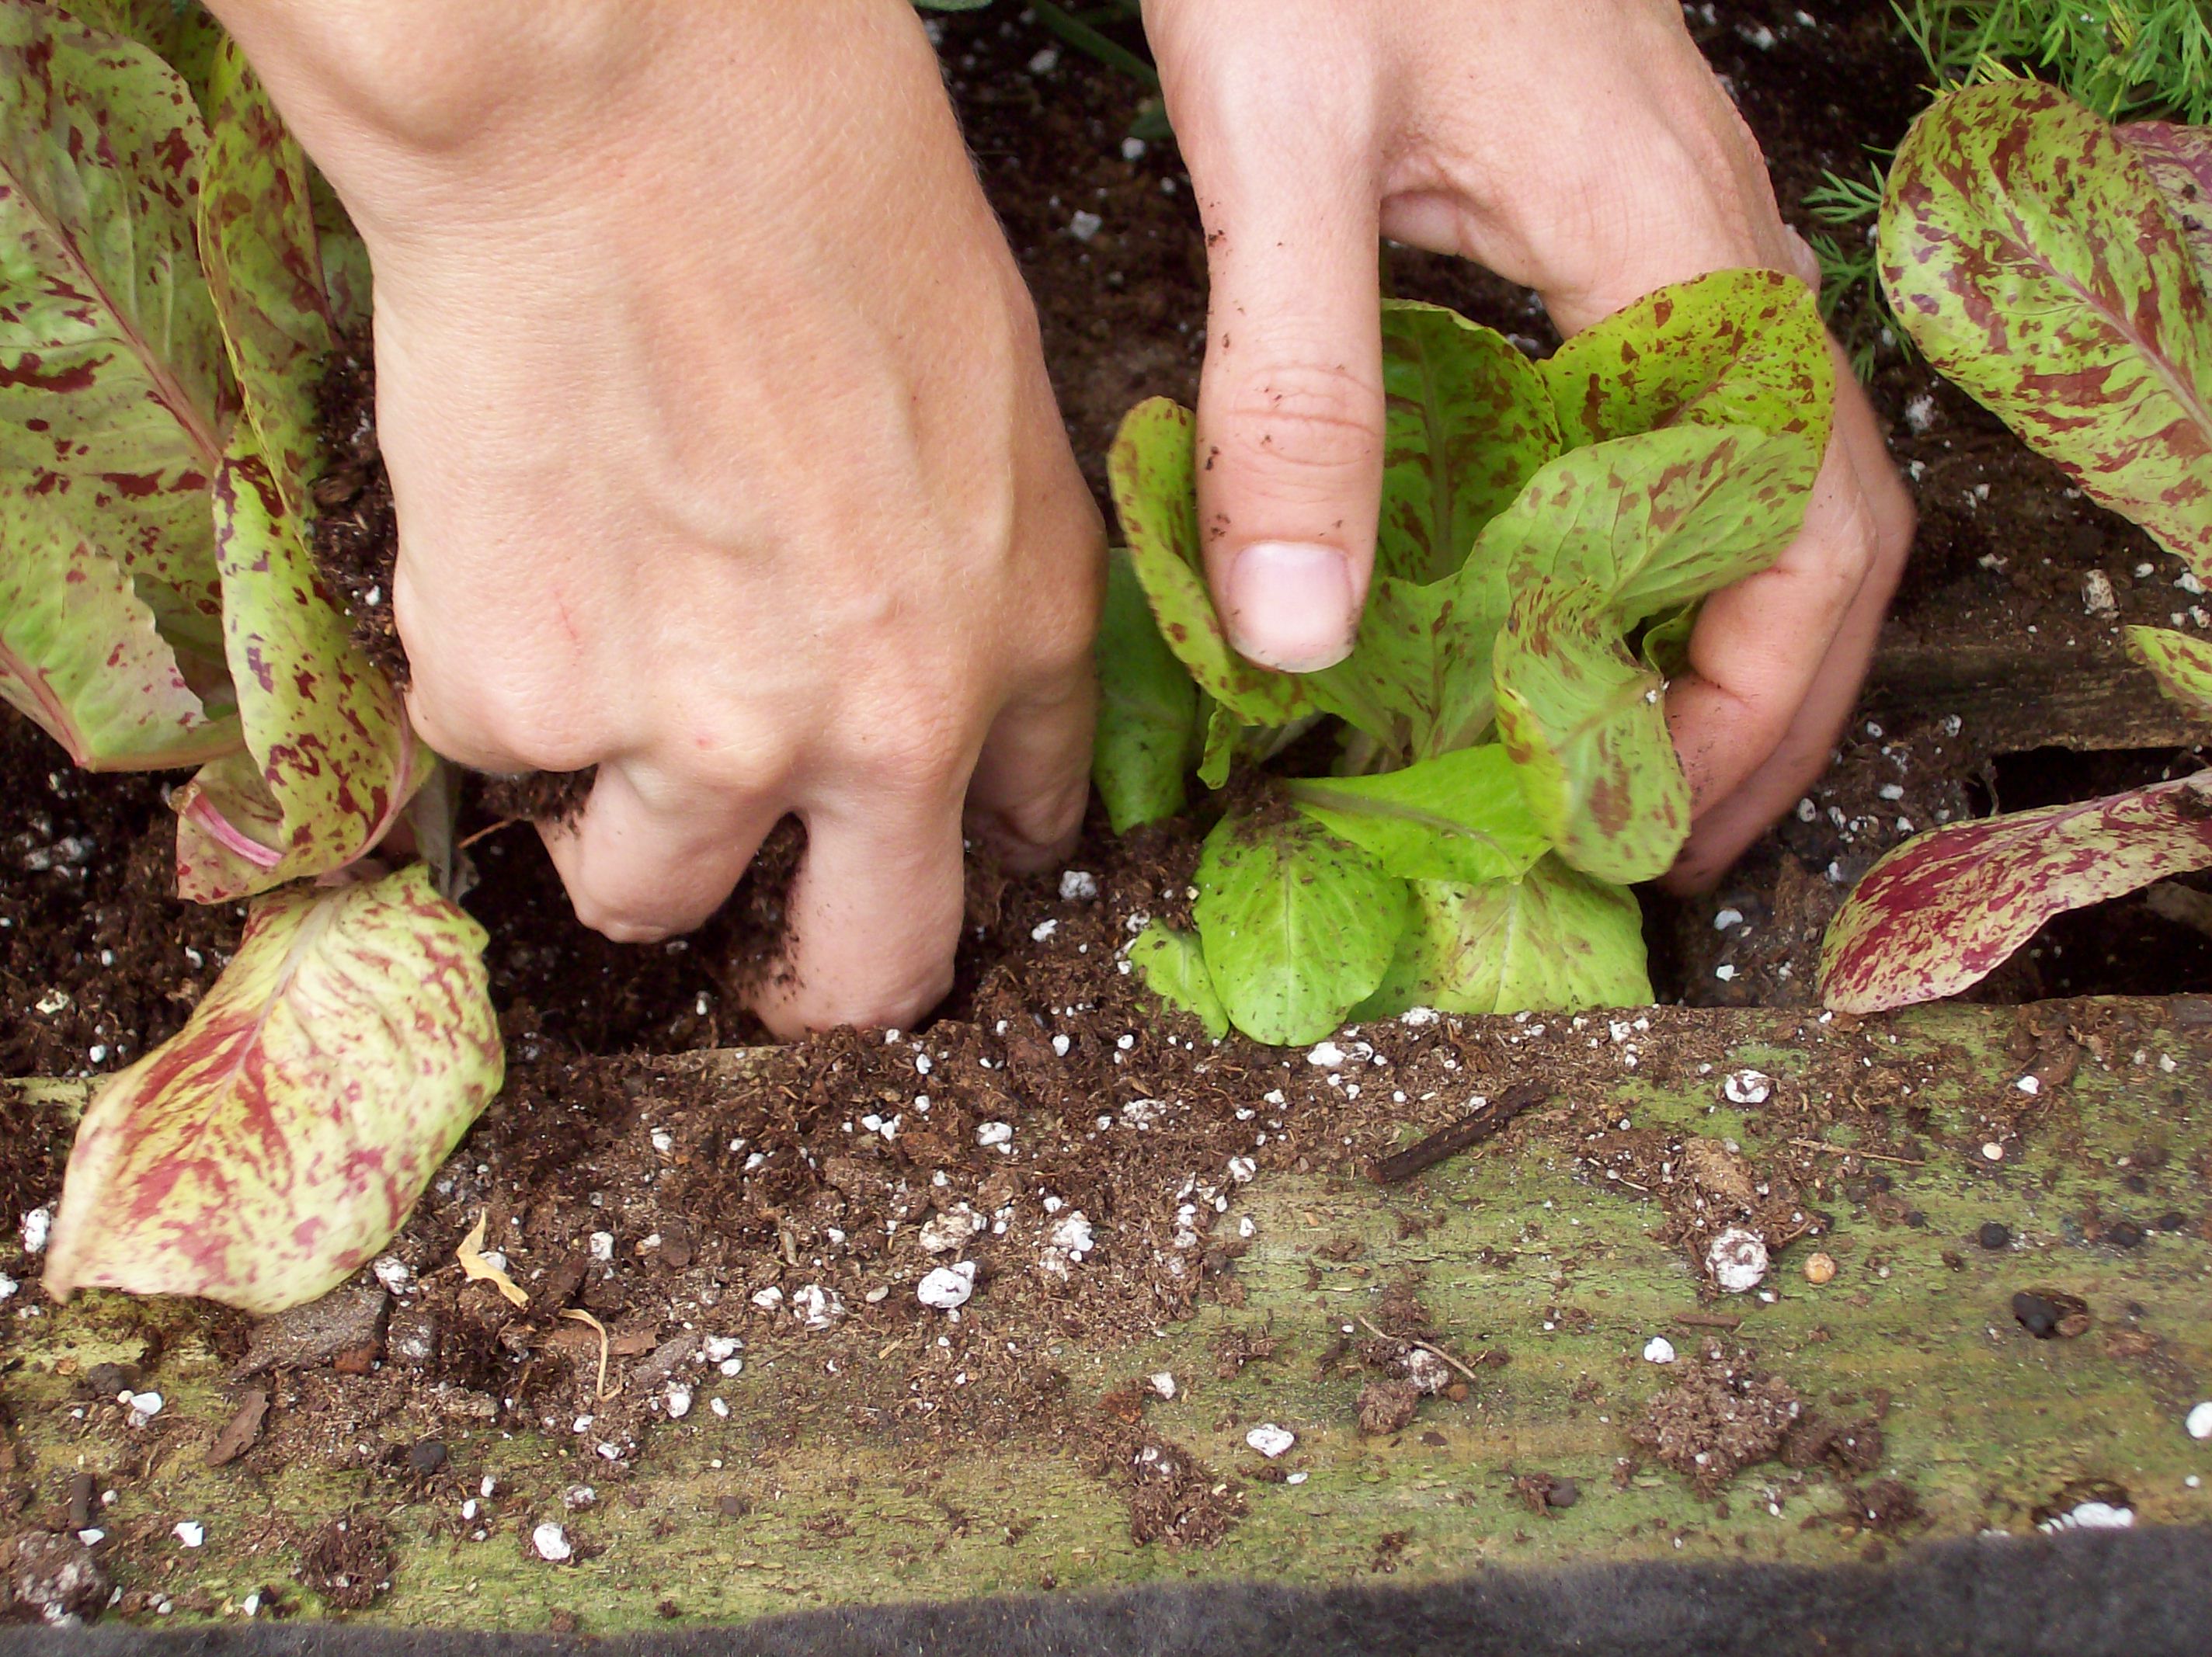
Once I pick out my plants I line them up in my pallet before planting. This way I can play around and switch things around if I want to. So now I’m ready to plant! It’s as simple as popping them out of the pot and inserting them into the pallet where you want. Don’t forget to break up your roots like you would if you were planting a container garden or into the ground.
Step 5: The Backfill
Now that we have all or our plants in the pallet where we want, we’re ready to fill in the gaps with more ProMix. Fill in and push down tight, just like in a container garden.
Step 6: Water and Wait
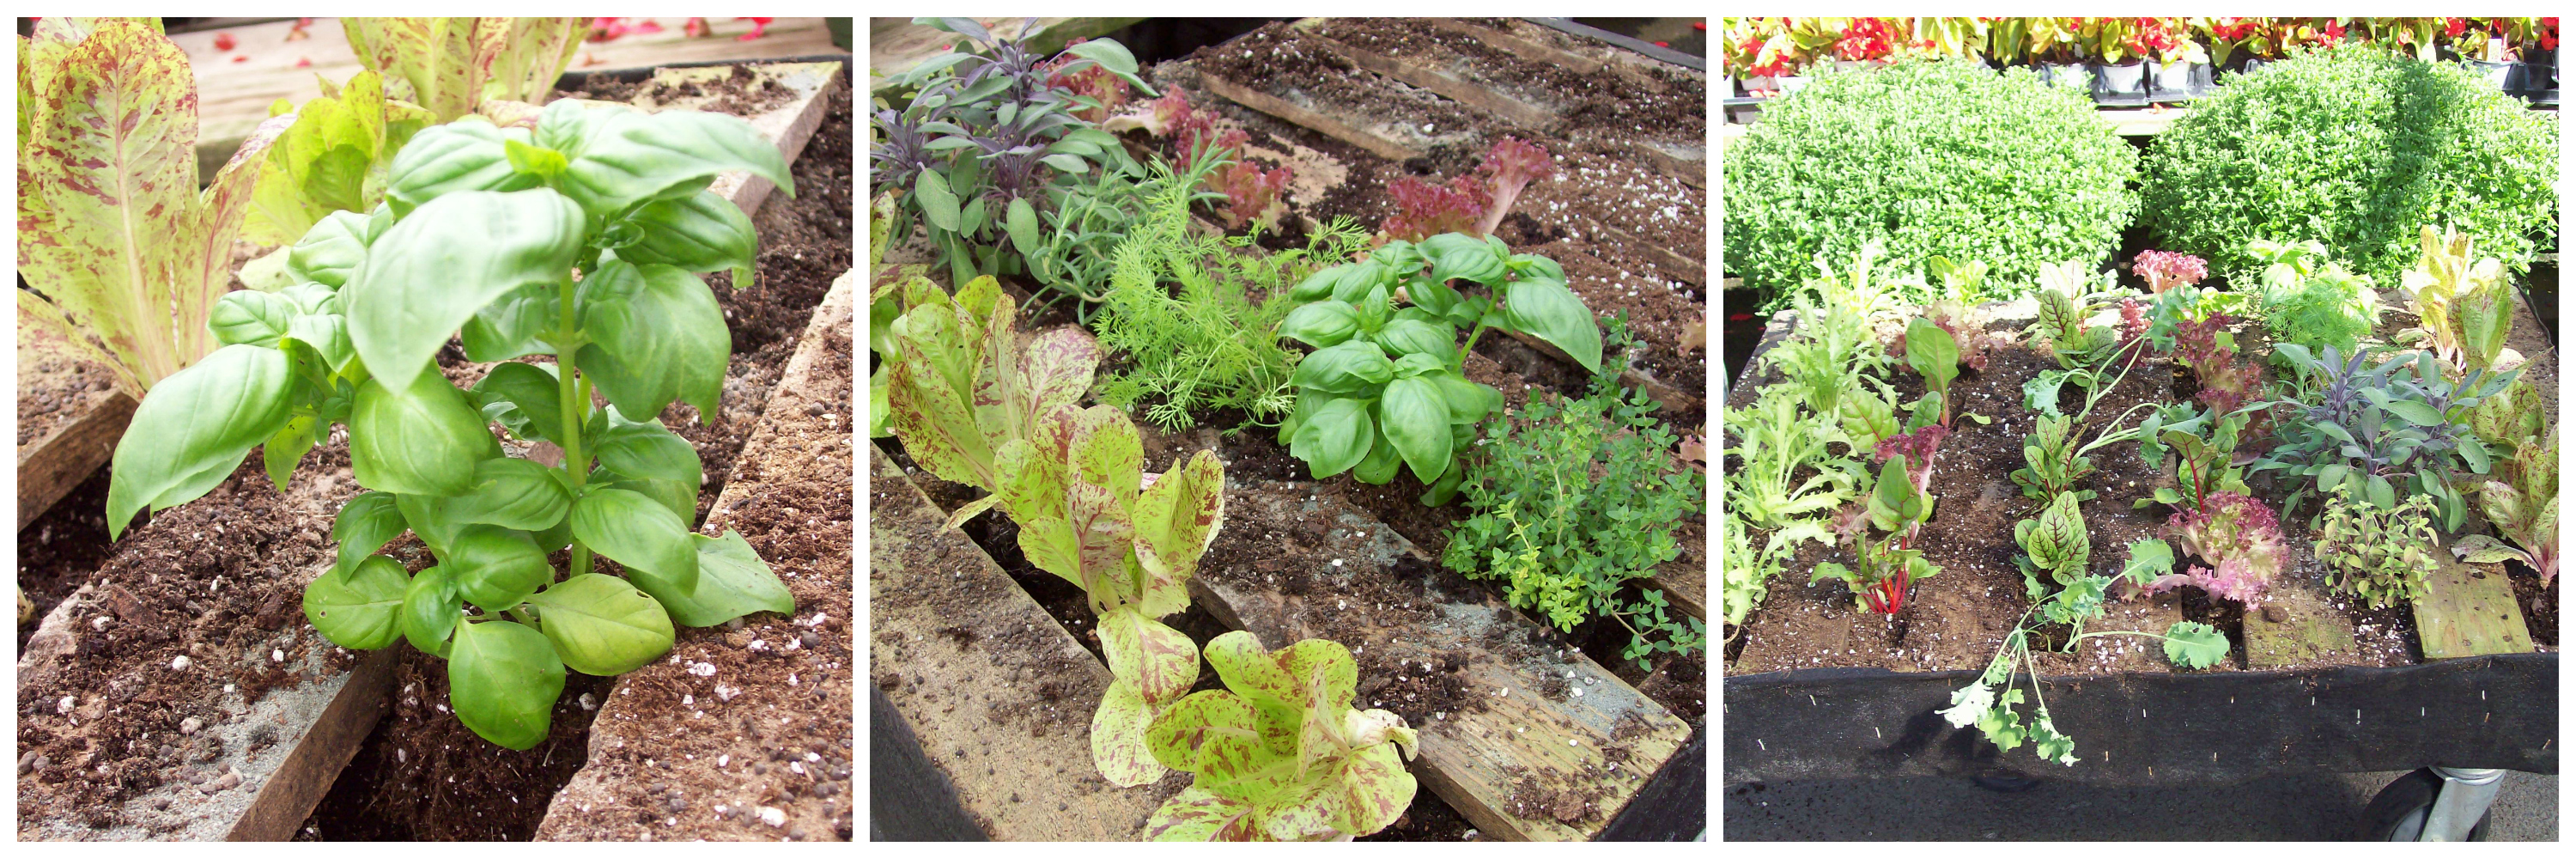
Okay, we’re all done planting so just water these guys in and set for about 10-14 days for plants to grow in a bit. The root growth is what’s going to help keep these guys in place once we stand the pallet up so water regularly. Once the pallet is ready to stand up we can remove the landscape fabric in the top and plant something fabulous there! Tada!!! Your vertical pallet garden is complete! Have fun harvesting lots of goodies or simply admiring its beauty throughout the season!
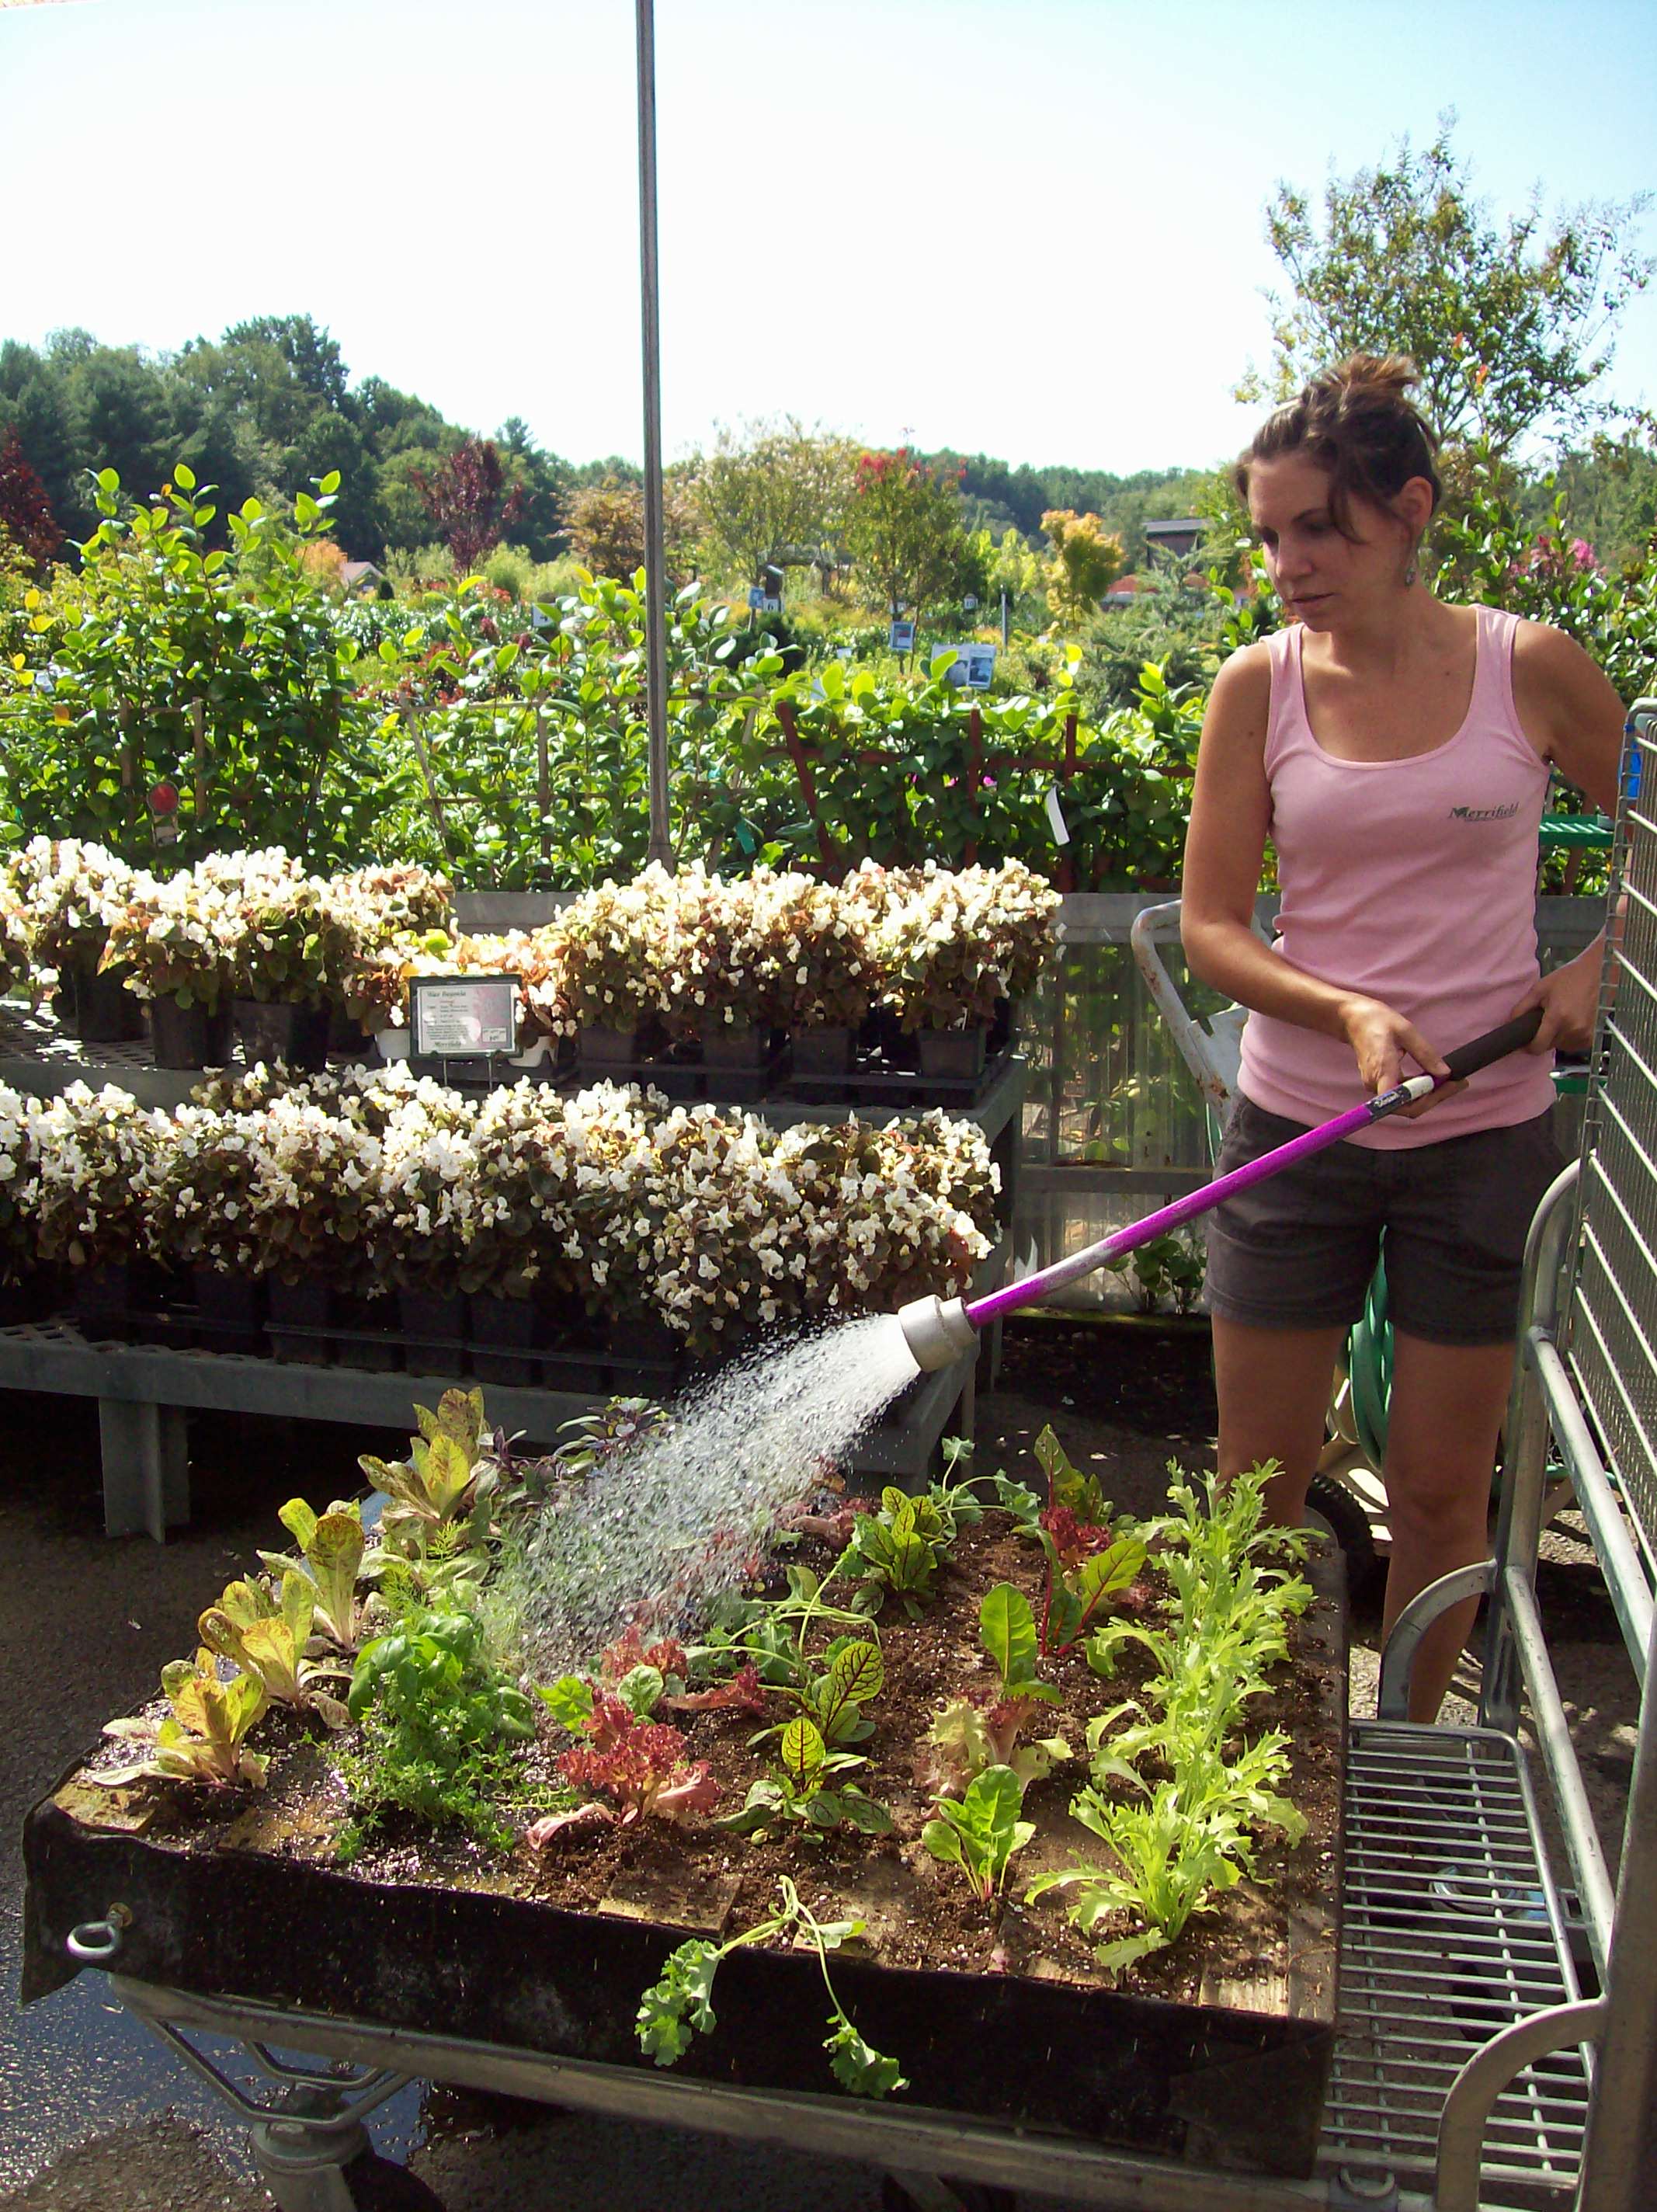
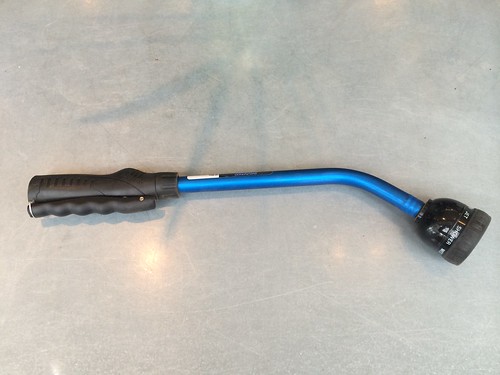
Pro tip: When watering while vertical I use a watering wand. The water spray is gentle and thorough. Be sure to water the top and some will drain down, but also water the body of the pallet as well.
Have fun and please share your own pallet gardening experience with me! Whether you’ve done it before, or starting now, I want to hear about it!
If you have any questions about any of these steps, please ask me for more info/photos. I have more to share!